 Seattle
 Rainier Valley Homes Face a Tough Climate for Siding
Rainier Valley sits in south Seattle, and like the rest of King County it deals with the same maritime weather pattern that wears down exterior surfaces faster than most homeowners expect. Salt-tinged marine air moving in off Puget Sound, long stretches of driving rain, and a moss season that barely lets up between fall and late spring all put steady pressure on siding — especially at seams, fastener points, and anywhere the original weather barrier has started to fail.
The neighborhood's tree cover adds to the problem. Mature trees keep siding shaded and damp longer after a storm passes, and that lingering moisture is exactly what moss, algae, and wood rot need to get established. Combine that with a housing stock that ranges from early-to-mid-century bungalows to newer infill construction, and you get a lot of siding that's either original and aging out, or has been patched over the years with materials that don't all behave the same way in wet weather.
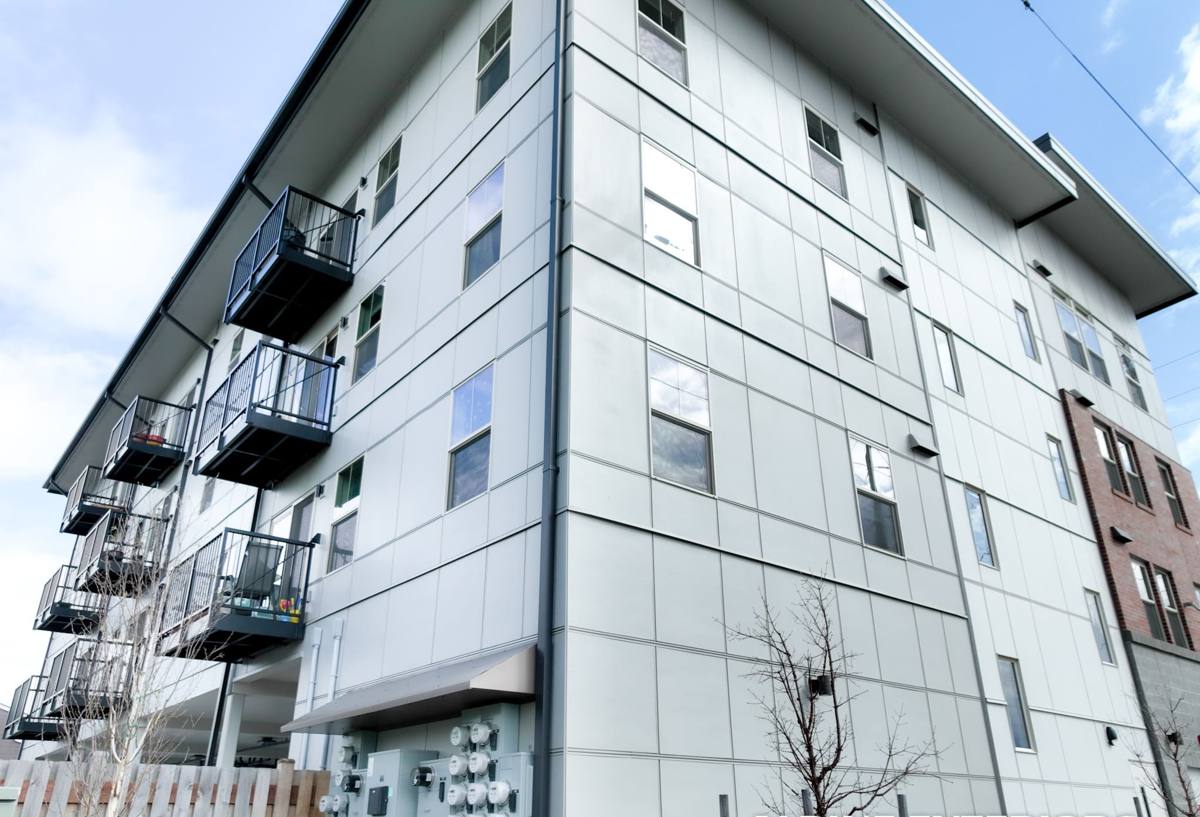
Signs Your Siding Needs Repair
Some siding problems are cosmetic. Others are early warnings of something happening behind the surface. It's worth knowing the difference before you decide whether a small fix will hold.
- Soft or spongy spots when you press on a board or panel — usually a sign of moisture trapped underneath, not just on the surface
- Visible gaps, warping, or boards pulling away from the wall
- Persistent moss or black streaking that comes back within a season of cleaning
- Peeling or bubbling paint concentrated in one area rather than spread evenly across the house
- Cracks around window and door trim, or at inside corners where two wall planes meet
- Interior clues — a musty smell, a damp patch on drywall, or a stain near an exterior wall
A single crack or a small area of moss is often a straightforward repair. Soft substrate, staining that keeps returning, or damage that shows up in more than one location usually means the underlying moisture management — not just the visible siding — needs attention.
What Goes Wrong When Siding Repairs Are Done Poorly
Siding repair has a bad habit of looking finished while actually being incomplete. A few mistakes we see often on homes we're called to fix a second time:
- Caulking over rot instead of removing it. Sealant hides the problem and traps moisture in, which accelerates decay rather than stopping it.
- Patching with mismatched material. A wood patch on fiber cement siding, or a vinyl piece screwed over a gap, moves and weathers differently than what's around it — the seam fails again, usually within a year or two.
- Skipping flashing and weather-barrier repair. If water was getting behind the siding in the first place, replacing only the visible board without correcting the flashing or house wrap underneath just resets the clock.
- Leaving cut edges unsealed. Any cut or drilled edge on fiber cement or wood siding needs to be properly sealed or factory-finished on all sides — an unsealed edge is where the next repair starts.
What a Correct Siding Repair Involves
A repair worth paying for starts with finding out why the siding failed, not just where. That means pulling back the damaged section far enough to reach solid material and checking the condition of the sheathing, house wrap, and flashing underneath — not just swapping the board that's visibly cracked.
The core steps
- Remove damaged material back to sound substrate, not just the obviously broken piece
- Inspect and repair the weather-resistive barrier and flashing at windows, doors, and penetrations
- Let framing and sheathing dry out fully before closing the wall back up if moisture intrusion was involved
- Install matching or compatible replacement material, fastened to manufacturer spec
- Seal and finish all cut edges before the piece goes up, not after
- Color-match or repaint so the repair blends rather than standing out as a patch
Skipping any one of those steps is how a repair becomes a callback.
Repair Types and What They Typically Cost
Every house and every failure is different, but most siding repairs fall into a handful of categories. These are broad ranges to help you think about scope — your actual cost depends on access, damage extent, and what's found once the wall is opened up.
| Repair Type | What's Involved | Typical Cost Range |
|---|---|---|
| Spot repair (single board or small panel) | Remove and replace one damaged section, reseal, color-match | $300 – $900 |
| Trim and corner repair | Replace rotted or cracked trim, corner boards, or window/door casing | $400 – $1,200 |
| Multi-section wall repair | Several damaged areas on one elevation, often with flashing correction | $1,200 – $3,500 |
| Moisture-driven repair | Open wall, dry/repair sheathing and barrier, then re-side the section | $2,000 – $6,000+ |
Repair vs. Replacement: When Patching Isn't the Right Call
Not every damaged wall should be repaired — sometimes a patch is just a delay. A few signs that full replacement of a section, or the whole exterior, makes more sense than another repair:
- Damage is spread across more than a quarter to a third of a single elevation
- The same spot has already been repaired once and failed again
- The original siding is nearing or past its expected service life — aging wood, older LP-style composite, or vinyl that's chalked and brittle
- You want a consistent look and warranty across the whole house rather than a patchwork of repair generations
We'll always tell you honestly when a repair will hold and when it's a short-term fix on a system that's already failing. Patching a wall that's structurally at the end of its life isn't a service we want to sell you — it's money spent to buy a year or two before you're back to a bigger job anyway.
Why We Repair and Rebuild With James Hardie
When a section is too far gone to patch, or a homeowner decides it's time to re-side rather than keep chasing repairs, we install James Hardie fiber cement — and only James Hardie. We don't install LP SmartSide, vinyl, Cemplank, Allura, primed spruce, or cedar. That's not a marketing position; it's a standard we hold because of what we see on repair calls across King County.
Fiber cement doesn't absorb water the way wood-based products can, and it doesn't expand and contract the way vinyl does, which matters in a climate that cycles through soaking rain and cooler drying spells for most of the year. Hardie's HZ5 product line is engineered specifically for wet, freeze-thaw-adjacent climates like the Pacific Northwest. The ColorPlus factory finish also has a practical benefit for repairs down the road: a properly stocked, color-matched replacement plank blends into an existing Hardie wall far more cleanly than trying to field-match paint on wood or vinyl years after the original install. And Hardie backs the product with a strong transferable warranty when it's installed to spec — which matters if you ever sell the house.
None of this means every other product is a bad choice for every homeowner. It means we've chosen to build our business around one material we trust to hold up on Seattle-area homes, install it correctly, and stand behind the result.
What We Won't Do
We won't caulk over a moisture problem and call it fixed, and we won't tell you a full re-side is necessary when a targeted repair will genuinely hold. Both directions cost homeowners money they didn't need to spend.
Our Siding Repair Process in Rainier Valley
We work throughout Seattle and King County, and Rainier Valley's mix of older bungalows and newer construction is familiar territory — we know what to expect from a 1940s wall assembly versus a home built in the last fifteen years. Our process on a repair call:
- On-site inspection to assess visible damage and check for signs the problem extends further than what's showing
- A clear, written explanation of what we found, what needs to happen, and what it will cost — before any work starts
- Repair or replacement using material and technique matched to the scope of the actual damage
- Cleanup and a final walk-through so you can see the finished work before we consider the job done
We also pay attention to Seattle's permitting requirements where a repair crosses into work that requires one, and we schedule around the region's rain patterns so a wall isn't left open longer than it has to be.
After the Repair: A Simple Maintenance Checklist
A correctly done repair should last, but a little seasonal attention goes a long way in this climate.
- Rinse siding down at least once a year to keep moss and algae from establishing, especially on shaded, north-facing walls
- Walk the exterior each fall and spring looking for new gaps, soft spots, or peeling paint
- Keep gutters clear so overflow isn't running down the siding face
- Trim back tree branches and shrubs that keep a wall section shaded and damp
- Address any small crack or gap promptly — it's far cheaper to seal a hairline crack than to repair the rot it causes two years later
If you're seeing any of the warning signs above, or just want an honest opinion on whether your siding needs a repair or something more, we're happy to take a look. Fill out the form below for a free, no-pressure estimate.