 Seattle
 Building New in West Seattle Means Building for the Water
West Seattle sits on a peninsula surrounded on three sides by Puget Sound, Elliott Bay, and the Duwamish waterway, which puts nearly every new build within a few miles of open water. That proximity shapes what a window has to survive here: salt-laden air that speeds up corrosion on hardware and fasteners, driving rain that comes in sideways off the Sound during winter storms, and the shaded, damp conditions that give this part of King County one of the longest moss and mildew seasons in the region. On a remodel, you can often get away with a window that's merely adequate. On new construction, the window is part of the building envelope from day one, so the material choice and the installation sequence have to be right the first time.
A new-construction window project is also a different animal from a replacement job. You're not working around an existing frame and finished siding — you're setting windows into a raw rough opening, tying them into the house wrap and flashing system, and coordinating with framers, siding crews, and sometimes a general contractor's schedule. Get that sequence wrong and the mistake gets buried behind siding and trim for years before it shows up as a stain, a soft spot, or a draft.
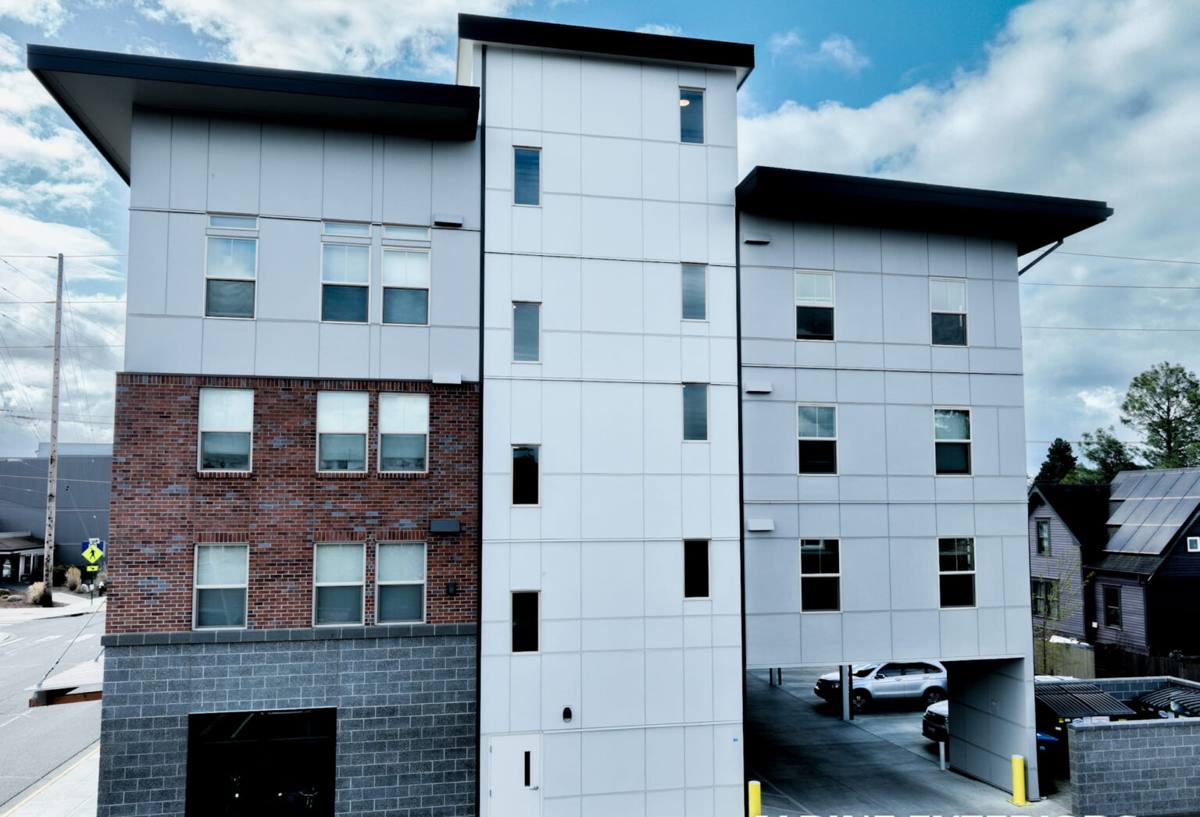
New-Construction Windows Aren't the Same Job as Replacement Windows
New-construction windows typically have a nailing flange (also called a nail fin) built into the frame. That flange gets fastened directly to the wall sheathing and then integrated into the weather-resistive barrier (WRB) before siding goes on. Replacement or "pocket" windows, by contrast, are usually inserted into an existing frame with no flange, relying on the old frame and trim to carry the weatherproofing. On a new build or an addition, you want flanged units installed correctly into an open wall — trying to shortcut that with a replacement-style window is a common source of long-term leaks.
Why the Distinction Matters on the Coast
Because West Seattle homes take on more wind-driven rain than inland King County neighborhoods, the flashing details around a flanged window carry more weight here than they would in a drier climate. A flange that's taped and shingled correctly sheds water down and out, over the layer below it, all the way to the weep path at the sill. A flange that's sealed with caulk alone, or shingled backwards, will hold water against the sheathing instead of shedding it — and that mistake doesn't announce itself until there's rot inside the wall.
What a Correct New-Construction Install Actually Involves
There's no shortcut version of this that holds up long-term. A proper install follows the same sequence every time:
- A sloped sill pan flashing under the rough opening, so any water that gets past the window drains back outside instead of pooling on the framing.
- Weather-resistive barrier integrated in the correct shingle-lap order — side flanges over the sill pan, head flashing over the side flanges — so water always moves downward and outward.
- Backer rod and sealant at the right joints, not everywhere; sealing every seam solid can trap moisture instead of letting it drain.
- The window set plumb, level, and square in the opening, then shimmed and fastened per the manufacturer's schedule — an out-of-square frame stresses the glass seals and can cause premature seal failure.
- Insulation in the gap between the frame and the rough opening, without overfilling it, so the frame isn't bowed inward.
- Interior air-sealing at the frame perimeter, which matters as much for energy performance as the exterior flashing does for water.
Every one of those steps is easy to see on an inspection checklist and easy to miss in a hurry on-site. That's really the whole ballgame with new-construction windows — the work is not complicated, but it is unforgiving of shortcuts.
Choosing a Frame Material for Salt Air and Driving Rain
West Seattle's combination of salt exposure, rain, and shade doesn't rule out any particular window material, but it does change which trade-offs matter most. Here's how the common options stack up for this specific setting:
| Frame Material | How It Handles Salt Air & Moisture | Maintenance Load | Good Fit For |
|---|---|---|---|
| Vinyl | Won't corrode; performs well near water | Low — occasional cleaning | Budget-conscious builds, rental properties, straightforward openings |
| Fiberglass | Excellent — very stable in wet, salty conditions and won't rot or corrode | Low | Larger openings, exposed elevations, homes wanting a long service life |
| Wood-clad (exterior clad, wood interior) | Good if cladding and flashing details are correct; exposed end-grain and joints need attention | Moderate — watch caulk lines and cladding seams over time | Homeowners wanting a wood interior look with a protected exterior |
| Aluminum | Conducts cold and can show corrosion at fasteners and hardware over time near salt air unless properly finished | Moderate to high near the water | Modern architectural styles, commercial-style openings |
We don't push one material on every job. What we do push back on is any product or detail that trades away long-term weather performance for a slightly lower price on a home that's going to sit exposed to Sound weather for decades. On a west- or southwest-facing wall in West Seattle, that trade-off shows up faster than it would elsewhere in King County.
Window Placement, Orientation, and Wind Exposure
West Seattle's bluffs and view lots are part of the appeal, but elevation and open exposure toward the water also mean more direct wind-driven rain on west- and southwest-facing walls. When we're involved early enough in a new-construction project, we'll flag which elevations are taking the brunt of that weather so extra attention — bigger head flashing, additional sealant detailing, sometimes a higher-performance frame — goes where it's actually needed, rather than treating every wall identically. Homes tucked into more sheltered streets or wooded lots don't need the same level of belt-and-suspenders detailing that an exposed bluff-top build does, so this isn't about upselling every job to the maximum spec — it's about matching the install to the actual exposure.
Moss, Shade, and Long-Term Window Health
The same tree cover and marine humidity that make West Seattle's older neighborhoods lush also feed a long moss and algae season on north-facing walls, roof lines, and anywhere water sits instead of draining. Windows themselves don't grow moss, but the flashing, trim, and sill details around them are exactly the kind of ledges and joints where organic growth takes hold if drainage isn't built in from the start. A sill pan and weep path that actually drain — rather than a caulked-shut sill that looks tidy on install day — keep water moving instead of sitting, which is the real defense against long-term staining, wood rot in adjacent trim, and the slow deterioration that shade and moisture cause together.
How We Work With Builders on New-Construction Timelines
On a new build or addition, windows go in at a specific point in the framing schedule — after the wall sheathing and WRB are up, before siding starts. Missing that window (no pun intended) either delays the whole job or forces someone to work around windows that went in without proper flashing integration. When we're brought in on a West Seattle new-construction project, we coordinate directly with the general contractor or builder on:
- Confirming rough opening sizes against the ordered window units before they're delivered, so nothing gets forced into an opening that's slightly off.
- Scheduling install for the right point in the framing sequence, not before the WRB is ready and not after siding crews are waiting on us.
- Documenting the flashing and sealant details as we go, since those layers get covered by siding and are effectively unreviewable later.
- Flagging any rough-opening or framing issues immediately, rather than working around them and hoping they don't matter.
A Practical Checklist Before You Sign Off on New-Construction Windows
Whether you're the homeowner, the builder, or acting as your own GC, these are worth confirming before the siding crew closes up the wall:
- Sill pan flashing is installed and sloped to drain, not flat or reverse-sloped.
- WRB shingle-lap order is correct at every window (sill, then sides, then head).
- Flashing tape is fully adhered with no fishmouths, wrinkles, or gaps at corners.
- Windows are shimmed square and plumb, not just fastened tight to a slightly off-square opening.
- Weep holes at the sill are clear and unobstructed.
- Frame material and glass package match what was specified for the exposure of that particular wall.
- Interior perimeter is air-sealed before insulation and drywall go in.
Why a Crew That Already Works West Seattle Matters
None of this is exotic knowledge, but it's the kind of detail work that goes faster and gets done right when a crew has installed windows on this peninsula's bluffs, view lots, and sheltered inland streets before. We know which elevations in this part of Seattle tend to take the worst of the winter storms off the Sound, what a realistic moss and mildew season means for drainage details, and how to keep a new-construction window install on schedule alongside the rest of a build. That's the difference between a window that looks fine on install day and one that's still performing correctly a decade into King County's wet winters.
If you're framing up a new home or addition in West Seattle and want windows installed right the first time, we're happy to take a look at your plans and rough openings. Fill out the form below for a free, no-pressure estimate — we'll walk through material options, exposure on your specific lot, and how the install fits into your build schedule.