 Seattle
 West Seattle's Siding Has to Work Harder Than Most
West Seattle sits out on its own peninsula, with a lot of homes facing open water toward Puget Sound and Elliott Bay. That exposure is part of what makes the neighborhood desirable, and it's also exactly what wears siding out faster than it wears out three miles inland. Salt-laden air off the water, wind-driven rain that hits walls sideways instead of falling straight down, and a wet season that stretches long enough to grow a healthy crop of moss on anything that stays damp — that's the combination your exterior has to shrug off, year after year, for decades.
None of this is unique to any one street or block. It's a peninsula-wide condition, and it shows up on siding as chalking paint, soft spots at butt joints, swollen bottom edges, and moss creeping up from grade or down from a shaded eave. We've replaced enough failed siding in this part of King County to know which products hold up here and which ones just look fine for the first few years.
What Coastal Exposure Actually Does to a Wall
Salt Air and Moisture Together
Salt in the air isn't just a corrosion issue for metal — it also holds moisture against surfaces longer than plain rainwater does, which slows drying time after every storm. Siding materials that absorb water or swell when wet stay wet longer near the water, and that extended damp period is when rot, mold, and paint failure actually take hold.
Driving Rain and Wind
Storms coming off the Sound don't always fall straight down. Wind-driven rain gets forced sideways and upward into laps, seams, and butt joints that were designed for water running down, not water pushing in. Poor flashing or caulk-dependent seams are where this shows up first — usually at trim returns, window heads, and inside corners.
Moss and Shade
Tree cover, close lot spacing, and long stretches of overcast weather mean a lot of exterior walls here rarely get a full afternoon of direct sun to dry out. Moss and algae take hold on any siding surface that stays cool and damp, and once established, they hold even more moisture against the wall behind them.
Why We Standardized on James Hardie Fiber Cement
We install James Hardie fiber cement siding exclusively. We don't install vinyl, LP SmartSide, Cemplank, Allura, primed spruce, or cedar, and that's a deliberate professional standard, not a sales pitch. Each of those alternatives has real strengths, but each also carries a trade-off — moisture sensitivity, maintenance burden, or long-term appearance — that we're not willing to put our name behind on a coastal peninsula like this one.
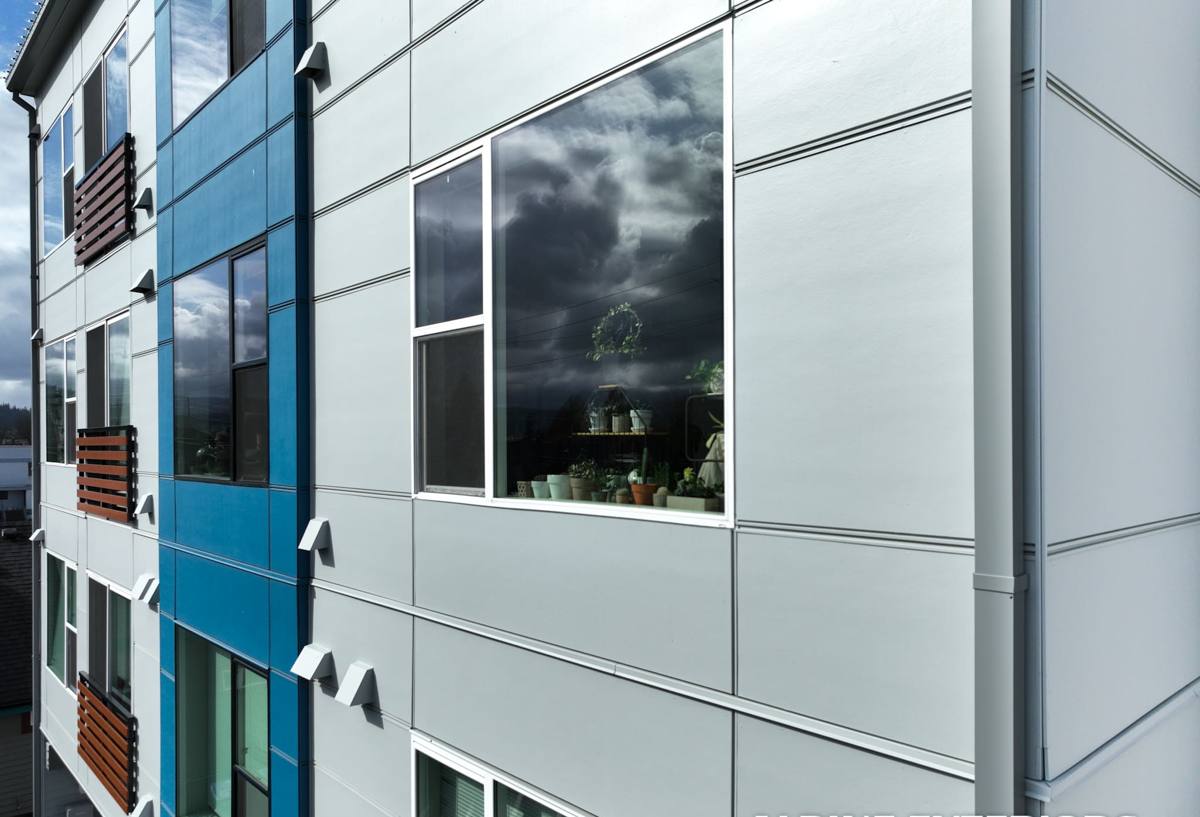
James Hardie's fiber cement is engineered from cement, sand, and cellulose fibers, which makes it non-combustible and dimensionally stable. It doesn't swell, rot, or feed insects the way wood-based products can, and it holds paint and factory finish far longer than wood siding exposed to the same weather. Hardie also builds region-specific formulations — its HZ5 product line is engineered for climates with more moisture cycling, which fits the Pacific Northwest better than a one-size-fits-all product.
ColorPlus Factory Finish
Most of what we install uses Hardie's ColorPlus finish, which is baked on at the factory under controlled conditions rather than brushed or sprayed on-site. That finish resists fading and chipping better than field-applied paint, and it comes backed by its own finish warranty separate from the substrate warranty — so you're not relying on a painter's skill on the day of installation for how the color holds up ten years out.
What a Correct Installation Involves
Fiber cement is only as good as the wall assembly behind it. A rushed or undertrained install can leave a home just as vulnerable as bad siding would, so the details matter as much as the product choice.
- Weather-resistive barrier installed and lapped correctly, with no punctures left unsealed
- Rainscreen or furring strip gap where conditions call for it, so water and vapor can drain and dry behind the panel instead of sitting against it
- Proper flashing at every window, door, and roofline intersection — not caulk used as a substitute for flashing
- Correct fastener type, spacing, and penetration depth per Hardie's published installation instructions
- Minimum clearance maintained between siding and grade, decks, and roof lines to keep the bottom edge out of standing water and splash-back
- Butt joints and corners detailed to shed water outward, not channel it into the wall
- Caulking limited to its intended role — sealing, not bridging gaps that should be flashed
Skip any one of these and you can still end up with moisture problems behind fiber cement siding, even though the material itself is doing its job. This is really an installation-quality issue more than a materials issue, which is why we treat the installation details as seriously as the product selection.
Our Process, Start to Finish
1. On-Site Assessment
We walk the exterior with you, looking at current siding condition, trim, flashing, moss growth patterns, and any soft spots or staining that point to trapped moisture. On homes with water exposure, we pay particular attention to the sides facing prevailing wind and rain.
2. Scope and Estimate
You get a written scope covering tear-off (if needed), water barrier and flashing work, siding profile and color selection, and trim details — not just a square-footage price for panels.
3. Tear-Off and Wall Prep
Old siding comes off down to the sheathing where warranted, damaged sheathing gets replaced, and the weather barrier goes on fresh rather than reused.
4. Flashing and Drainage Detailing
Every penetration, window, and roofline gets flashed before a single piece of siding goes up. This is the step that determines whether the assembly performs in a real storm.
5. Installation to Manufacturer Spec
Panels, fasteners, and clearances follow James Hardie's installation requirements, which is also what keeps the manufacturer's warranty intact.
6. Final Walkthrough
We review the finished work with you, including caulking, trim, and touch-up paint at fastener heads, before calling the job complete.
Signs Your West Seattle Home May Need New Siding
Some warning signs are easy to spot from the sidewalk; others take a closer look.
- Moss or algae that returns within months of being cleaned off
- Paint that's chalking, peeling, or flaking, especially on water-facing walls
- Soft or spongy spots when you press on siding near the bottom edge
- Visible gaps, warping, or separation at seams and corners
- Interior stains on walls that back up to exterior siding
- Siding that's original to a home built more than 20-25 years ago
Any one of these is worth a second look. Several together usually mean moisture has already gotten behind the surface layer.
Cost Factors to Understand Before You Get Quotes
| Factor | Why It Affects Price |
|---|---|
| Tear-off vs. install over existing wall | Removing old siding and repairing sheathing adds labor but is often necessary on water-damaged walls |
| Home size and wall complexity | More corners, gables, and trim detail mean more cutting, flashing, and labor time |
| Siding profile chosen | Lap, shingle, and panel profiles from the Hardie lineup vary in material and labor cost |
| ColorPlus vs. field-painted finish | Factory finish costs more upfront but reduces repainting costs over the life of the siding |
| Trim and accessory work | Fascia, soffit, and trim replacement alongside siding affects total scope |
| Access and site conditions | Slopes, tight lot lines, and multi-story walls common on the peninsula can add labor time |
We give written, itemized estimates so you can see where the cost is actually going rather than a single lump number.
Maintaining Fiber Cement Siding in a Wet Climate
Fiber cement is low-maintenance compared to wood, but "low" isn't "none," especially this close to the water.
- Rinse siding annually to remove salt residue, pollen, and early moss growth before it establishes
- Keep gutters clear so overflow doesn't run down the wall face
- Trim back vegetation and tree limbs that keep siding shaded and damp
- Re-caulk gaps at trim and penetrations if you notice separation, rather than waiting for a leak
- Watch north- and water-facing walls most closely — they dry slowest
Why Hire a Crew That Already Works This Peninsula
West Seattle's mix of water exposure, tree cover, and older housing stock rewards a crew that's already seen how siding fails here, not just siding in general. We know which walls need extra flashing attention, which product lines hold up against salt air, and where moss tends to come back if drainage isn't detailed correctly the first time. That local pattern recognition is worth more than a lower bid from a crew unfamiliar with King County's coastal conditions.
If your siding is showing wear, or you're planning ahead for a home on the water side of the peninsula, we'd like to take a look. Reach out for a free, no-pressure estimate — we'll walk the exterior with you and give you a straight answer on what your home actually needs.