 Seattle
 New-Construction Windows in University District
University District is one of Seattle's most active pockets for new building right now — townhome rows replacing single-family lots, accessory dwelling units going in behind existing houses, and multi-unit infill near the light rail corridor and campus. Every one of those projects has the same critical moment: the window install. Get it right during framing and rough-in, and the building envelope stays dry and efficient for decades. Get it wrong, and you're chasing leaks, condensation, and callbacks long after the drywall is up and painted.
New-construction window work is a different discipline from replacement work. There's no old frame to reuse, no existing flashing to work around — you're setting the window into a rough opening for the first time and tying it into the weather-resistive barrier, the sheathing, and the siding plan from scratch. That's an advantage if it's done correctly, and a liability if it isn't, because mistakes get buried behind finish materials and don't show up until the first real storm season.
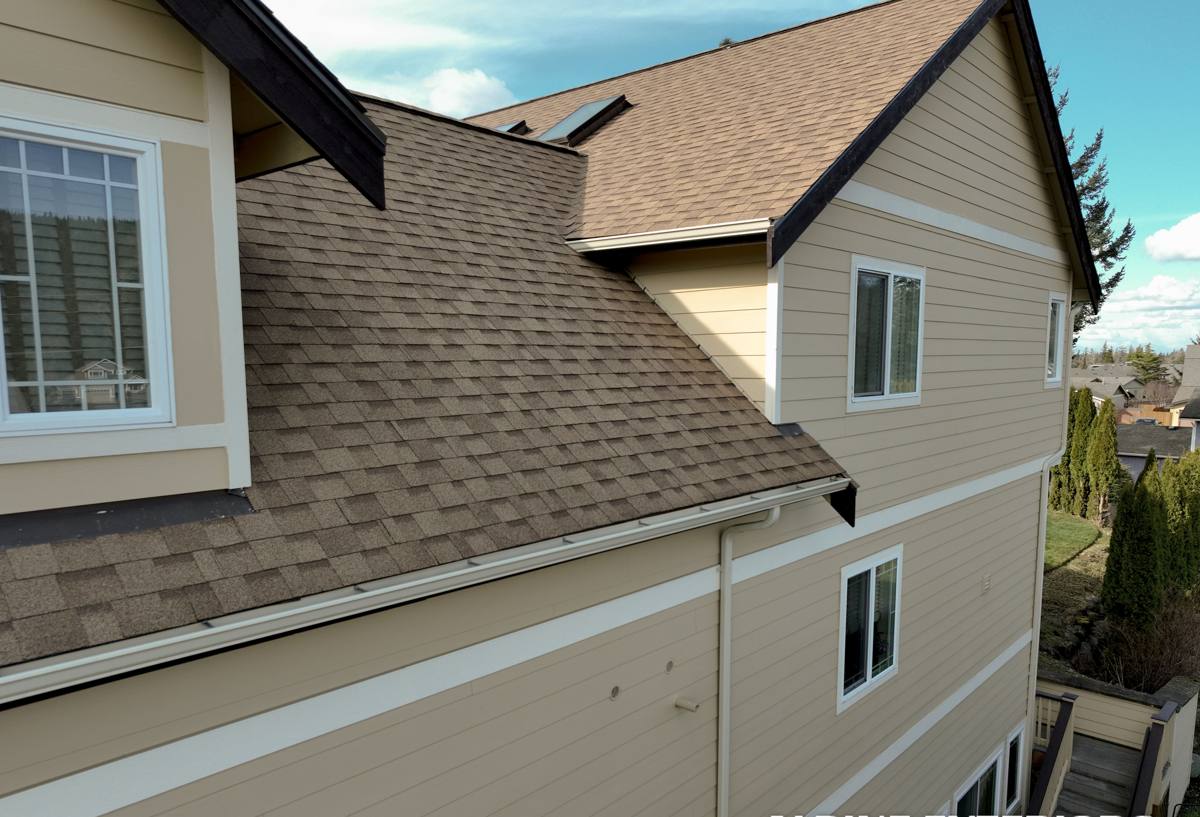
How King County's Climate Shapes the Window Plan
Seattle doesn't get hurricanes, but it gets something harder on a building envelope over time: months of steady, wind-driven rain, long stretches of gray damp weather that never fully dry a wall assembly out, and — on shaded, north-facing, or tree-covered lots common around University District — a moss and algae season that can run most of the year. Add the marine air that moves through the greater Puget Sound region and you get an environment where any gap in flashing or sealant eventually finds water, and any organic growth left unchecked slowly works into caulk lines and trim joints.
For new construction specifically, this means the flashing and drainage plane matter more than the window brand. A mid-grade window installed with a correct shingle-lapped flashing sequence will outperform a premium window installed with shortcuts. We plan every U-District install around three climate realities:
- Driving rain that hits window heads and sills at an angle, not just straight down
- Long damp periods that don't let minor water intrusion dry out before it causes rot
- Shade and tree cover in many U-District yards, which keeps moss and mildew active on sills and trim nearly year-round
Why This Matters More on New Builds Than Retrofits
On a retrofit, a homeowner may notice a drafty or leaking window within a season or two. On new construction, the window is sealed behind siding, trim, and interior finish before anyone lives there — so a flashing error can sit hidden for years, quietly rotting sheathing or framing, before it ever shows as a stain or a soft spot. That's the core argument for doing it right the first time rather than treating it as a line item to rush through.
Getting the Installation Right: Flashing, Sequencing, and the Envelope
A correct new-construction window install is really an exercise in water management, done in the right order. The window itself is almost the easy part.
The sequence we follow
- Rough opening is checked for square, level, and correct sizing against the window schedule before anything else happens
- Weather-resistive barrier (housewrap or fluid-applied membrane) is lapped correctly at the opening, with sill pan flashing installed first
- Window is set, shimmed level and plumb, and fastened per the manufacturer's structural requirements — not just "however it fits"
- Head, jamb, and sill flashing are integrated in proper shingle-lap order so water sheds down and out, never into the wall
- Backer rod and appropriate sealant are used at the perimeter — never sealant alone as a substitute for physical flashing
- Interior air sealing is completed separately from exterior water sealing, since they serve different jobs
Skipping or reordering any of these steps is the single most common cause of new-construction window failures we get called to diagnose on other builders' work — usually a sill pan that was skipped, or house wrap that was taped over the flange instead of lapped under it.
Choosing the Right Window for a University District Build
There's no single "best" window line for every project — the right choice depends on the building's exposure, the design intent, and the budget. What we won't do is install a window in a way that fights its own design, or recommend a frame material that's a poor match for a shaded, damp Seattle lot just because it's cheaper up front.
| Frame Material | Typical Fit For | Trade-Offs to Know |
|---|---|---|
| Vinyl | Budget-conscious builds, rental/infill units | Good value and energy performance; limited color and profile options; can expand/contract more with temperature swings |
| Fiberglass | Most U-District new construction | Stable in temperature swings, strong moisture resistance, higher upfront cost than vinyl |
| Wood-clad (aluminum or fiberglass exterior) | Design-forward homes, interior wood finish desired | Best interior appearance; exterior cladding must be detailed carefully or moisture can reach the wood core over time |
| Aluminum | Larger openings, modern/commercial-style design | Thermally efficient only with a thermal break; narrow sightlines are attractive but less forgiving of installation error |
Whatever the material, we spec glazing to meet Washington State Energy Code performance targets for the climate zone Seattle falls in, and we flag where a builder's plans call for glazing that won't pass inspection before the windows are ever ordered — it's a much cheaper fix on paper than after the units arrive.
Code, Egress, and the Details That Get Missed
New construction in Seattle and unincorporated King County has to satisfy both energy code and life-safety requirements, and both get checked at inspection — which means errors here cost real time on a build schedule.
- Energy performance: U-factor and solar heat gain targets are set by Washington State Energy Code and vary by orientation and glazing area — we build the window schedule to match, not guess and hope it passes
- Egress: Bedrooms need a window meeting minimum clear opening width, height, and area, at a maximum sill height off the finished floor — a common miss on tight infill lots where window size gets value-engineered down
- Tempered glass: Required near doors, low sills, and certain bathroom and stairway locations — easy to overlook when ordering multiple similar-looking units for a multi-unit project
- Fall protection: Upper-floor windows with low sills may need additional hardware or limiters depending on the specific code path used
On multi-unit infill projects, which are common around University District right now, these requirements have to be checked unit by unit — a window schedule built for one layout doesn't always transfer cleanly to the mirrored unit next door.
Our Process From Framing to Final Trim
1. Plan review and window schedule
We review architectural plans, confirm rough opening sizes, and cross-check the proposed glazing against energy code and egress before a single window is ordered.
2. Timing with the build
Windows go in after the weather-resistive barrier is up and before siding starts. We coordinate directly with the general contractor or framer so we're on site at the right window in the schedule — not too early, not holding up siding crews.
3. Installation
Sill pan flashing, correct shim and fastening per manufacturer instructions, shingle-lapped flashing integration, and perimeter sealant — the sequence covered above, done the same way on every unit.
4. Inspection-ready documentation
We keep track of what was installed where, which matters on multi-unit builds where inspectors check window schedules against permitted plans.
5. Final walk
Before we leave, every window gets operated, checked for square and smooth function, and inspected for a clean, consistent perimeter seal.
Why Hire a Crew That Already Works University District
General contractors and homeowners building in this neighborhood are usually dealing with the same set of conditions: tight infill lots, mixed sun and shade exposure depending on the block, older adjacent structures that affect drainage and runoff, and permitting through the City of Seattle process. A crew that's already installed windows on similar lots in this part of the city isn't guessing at how the local inspection process runs or how a particular block drains in a heavy rain event — that's knowledge that only comes from doing the work here repeatedly, not from a general product manual.
It also matters for schedule reliability. New construction runs on a sequence — framing, wrap, windows, siding — and a subcontractor who shows up on time and finishes cleanly keeps the whole build moving instead of becoming the bottleneck.
A Quick Checklist for Homeowners and Builders
Whether you're a homeowner watching your builder's work or a GC bringing in a window sub, these are worth confirming before drywall closes the wall up:
- Sill pan flashing installed before the window, not skipped or substituted with sealant alone
- Weather-resistive barrier lapped over the flange at the top, under it at the sides and bottom
- Window shimmed level and plumb, fastened per manufacturer spec — not just foamed in place
- Glazing meets the project's energy code target for the specific orientation and room
- Bedroom windows verified for egress clear opening and sill height before installation, not after
- Tempered glass confirmed at all locations code requires it
- Perimeter sealant applied over backer rod, with no gaps at corners or mulled joints
If you're planning new construction, an ADU, or an infill build in University District, we're happy to walk your plans, look at your window schedule, and give you a straightforward, no-pressure estimate — just fill out the form below.