 Seattle
 New-Construction Windows in Rainier Valley: A Different Job Than Replacement
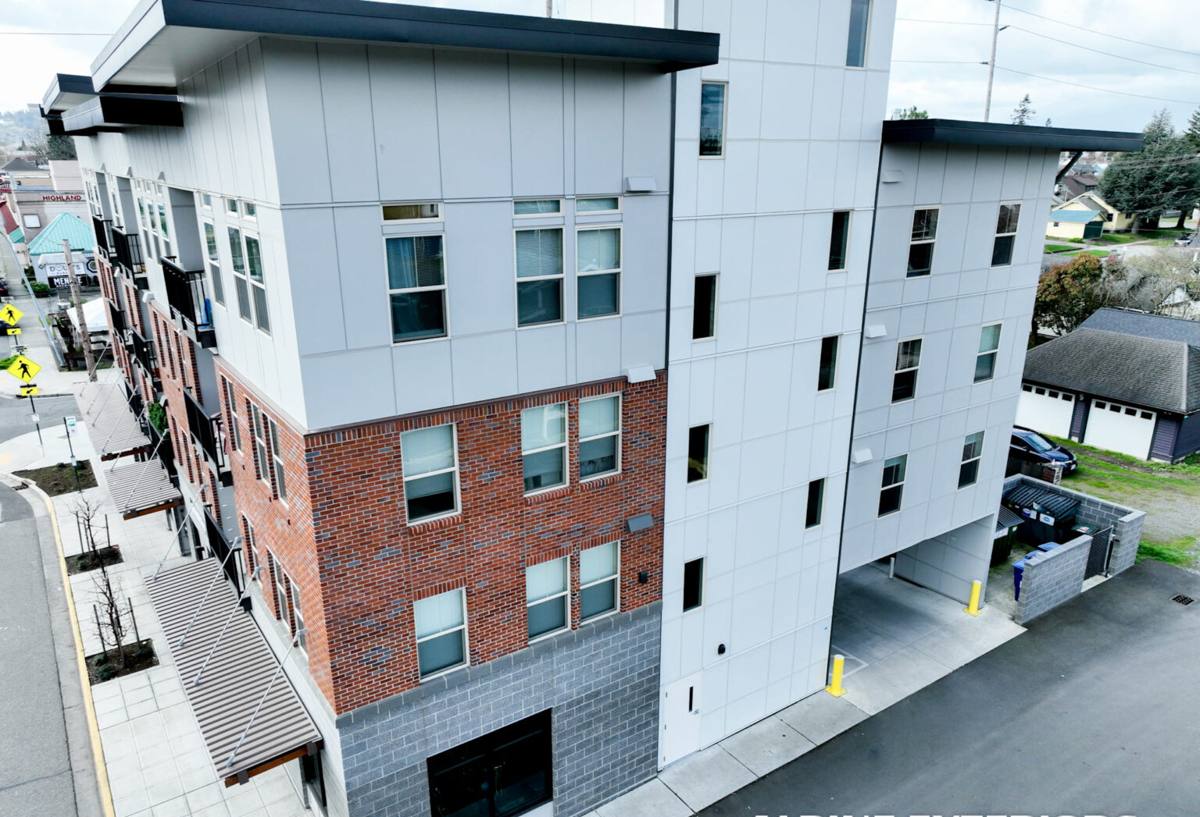
Rainier Valley has seen a steady mix of ground-up new builds, additions, ADUs, and infill townhomes go up over the past several years, alongside its older bungalow and craftsman housing stock. Whether you're a homeowner adding onto a house or a builder framing a new project on a South Seattle lot, the windows going into that structure are installed under very different conditions than a replacement job in an existing home.
New-construction windows go in during framing, before siding and cladding cover the wall. The window unit typically has a nailing fin that fastens directly to the wall sheathing, and it has to be integrated with the weather-resistive barrier (WRB) and flashing system before the wall is closed up. Get that sequence wrong, and the mistake gets buried under siding for years — often not showing up until there's rot, staining, or a mold problem inside the wall cavity. Get it right, and that window assembly should perform for decades without a second thought.
This is the work we do for Rainier Valley builders and homeowners: window installation timed and detailed correctly during the construction process itself, not a retrofit patched into an opening that already exists.
What Seattle's Climate Demands From New-Construction Windows
King County's marine climate is the reason new-construction window details matter as much as the windows themselves. Salt-tinged air off Puget Sound, driving wind-driven rain through fall and winter, and a moss season that stretches for much of the year all put steady pressure on any exterior opening in a wall. None of that is dramatic on any single day — it's the cumulative, year-round dampness that eventually finds a poorly flashed window and starts a slow rot problem behind the trim.
That means a few things have to be true of every new-construction window installation in this area:
- Water that gets past the exterior cladding has to have a way out — not a place to pool.
- Every flashing layer has to shingle correctly with the one below it, so water sheds outward and downward, never inward.
- Fasteners and hardware need to hold up to persistent moisture and salt-laden air without corroding.
- The window and its surrounding assembly need to manage condensation from mild, wet winters, not just summer heat.
A window that's rated well on paper but installed with a shortcut in the flashing sequence will still leak. In this climate, the installation detail work is at least as important as the product spec sheet.
Getting the Installation Right the First Time
The Flashing Sequence
Proper installation follows a specific order: a sloped sill pan goes in first to catch and direct any water that gets past the window back outside, then side flashing is applied so it laps over the sill pan, and head flashing goes on last, lapping over the side flashing and tying into the WRB above the opening. Skip a layer or install it out of order, and you've built a path for water to travel into the wall instead of away from it.
Fastening, Shimming, and Sealing
The window has to be set square, level, and plumb, then shimmed and fastened per the manufacturer's pattern — not just at the corners. Backer rod and sealant go at the interior air seal line, and the gap between the window frame and rough opening gets insulated properly, without overpacking it in a way that bows the frame. On the exterior, sealant is a backup to good flashing, not a substitute for it. A heavy bead of caulk around a window that was flashed wrong just hides the problem instead of solving it.
Why This Is a One-Shot Opportunity
Once siding and trim go on, the flashing and sealing details are hidden until something fails. New construction is the one point in a building's life where every layer is fully visible and accessible before it's covered up permanently. It's worth doing carefully, because correcting it later means tearing into finished siding.
Choosing the Right Window for a Rainier Valley Build
Frame material affects how a window handles this region's moisture load, how much upkeep it needs, and where it fits in a project budget. There's no single right answer for every project — the right choice depends on the design, the budget, and how much maintenance the owner wants to take on long-term.
| Frame Material | Moisture Resistance | Maintenance | Typical Use |
|---|---|---|---|
| Vinyl | Good — won't rot or corrode | Low; occasional cleaning | Budget-conscious new builds, additions |
| Fiberglass | Very good; stable in wet/dry cycles | Low | Mid-to-upper builds wanting durability |
| Wood-Clad | Good on exterior; interior wood needs protection from condensation | Moderate to high | Traditional or high-end interior finishes |
| Aluminum | Fair; needs a thermal break for this climate | Low | Large glass runs, modern designs |
Whatever material is chosen, we install it the same careful way — flashing and drainage are what keep water out, not the frame material alone.
Our New-Construction Window Process
For builders, GCs, and homeowners managing their own project in Rainier Valley, our process is built to fit into a construction schedule without becoming the bottleneck:
- Plan and rough opening review — we check window schedules and rough opening sizes against the actual framing before ordering, so nothing shows up the wrong size.
- Product selection — we walk through frame material, glazing, and performance options that fit the project's budget and design, and flag realistic lead times so it doesn't hold up your schedule.
- Coordinated install timing — windows go in at the right point in the framing sequence, working alongside your framer and WRB installer rather than around them.
- Installation to manufacturer spec plus best-practice flashing — sill pan, side flashing, head flashing, air sealing, and insulation, done in the correct order every time.
- Inspection-ready work — installed so it's ready for the building inspector without callbacks for flashing or sealing issues.
- Final walk-through — every window operates correctly, seals properly, and is documented before we consider the job done.
Energy Code and Efficiency in King County New Construction
New construction in Seattle and King County has to meet the current Washington State Energy Code, which sets minimum performance requirements — including U-factor and solar heat gain — for the window package in a new building. Your architect or GC's plans should already specify targets, and we make sure the windows we install meet or exceed them so the project passes inspection without a redesign.
Beyond the code minimum, most new-construction projects in this climate benefit from dual-pane, low-E glazing with argon or krypton gas fill, which helps with both winter heat retention and comfort near large glass areas — a common feature in newer Rainier Valley builds and additions with bigger window openings for light and views. Triple-pane glass is available for projects that want to push efficiency further, at added cost and weight that's worth discussing against the specific design.
Common Mistakes We See on New Builds
Most window problems on new construction trace back to a handful of avoidable issues. Before your windows go in, it's worth confirming these with whoever is installing them:
- Sill pan skipped or installed flat instead of sloped to drain outward
- Flashing layers installed out of shingle-lap order, letting water track inward instead of out
- Nailing fin not fully and evenly fastened per the manufacturer's pattern
- Window not shimmed square before fastening, causing operational problems later
- Sealant used as the primary water barrier instead of as a backup to proper flashing
- Rough opening gap over- or under-insulated, affecting both performance and frame shape
- Window schedule not cross-checked against actual framed openings before ordering
Any one of these can pass a casual glance at the time of install and still cause a moisture or performance problem years down the road.
Why a Crew That Knows Rainier Valley Matters
New-construction window work depends on timing — showing up at the right point in the framing schedule, understanding how the local inspection process works, and knowing how Seattle's rain and moss season actually behave on a job site day to day, not just in theory. A crew that regularly works South Seattle projects already has working relationships with local framers and GCs, understands typical lot and access conditions in the neighborhood, and can respond quickly if a punch-list item comes up before drywall or siding closes things in.
That local familiarity is also what keeps a project moving. Ordering the right products with realistic lead times, scheduling around a King County construction calendar, and installing with this region's moisture load in mind aren't things you want to learn on your project — they're things a crew should already know walking in.
Let's Talk About Your Project
If you're planning new construction, an addition, or an ADU in Rainier Valley and want windows installed correctly the first time, we're happy to walk through your plans and give you a straightforward, no-pressure estimate. Use the form below to get started.