 Seattle
 Why University District Roofs Wear Out the Way They Do
University District sits close enough to Puget Sound and Lake Washington that roofs here deal with a steady mix of salt-tinged marine air, wind-driven rain, and shade from mature trees that keeps roof decks damp far longer than homes in drier parts of the state. Add Seattle's long gray stretch from October through May, and you get a climate that's less about any single storm and more about relentless, low-grade exposure. Shingles granulate faster, fasteners corrode sooner, and moss gets a foothold anywhere sun doesn't reach the roof plane for more than a few hours a day.
The neighborhood's housing stock adds another layer. University District has a mix of early-1900s Craftsman and Foursquare homes, mid-century additions, and newer infill and multi-family buildings — often on the same block. Older homes frequently carry roof decking, ventilation, and flashing details that were fine when installed but don't meet current expectations for moisture control. A new roof installation here isn't just "put new shingles down" — it's a chance to correct decades-old ventilation and drainage shortcuts before they cause hidden rot.
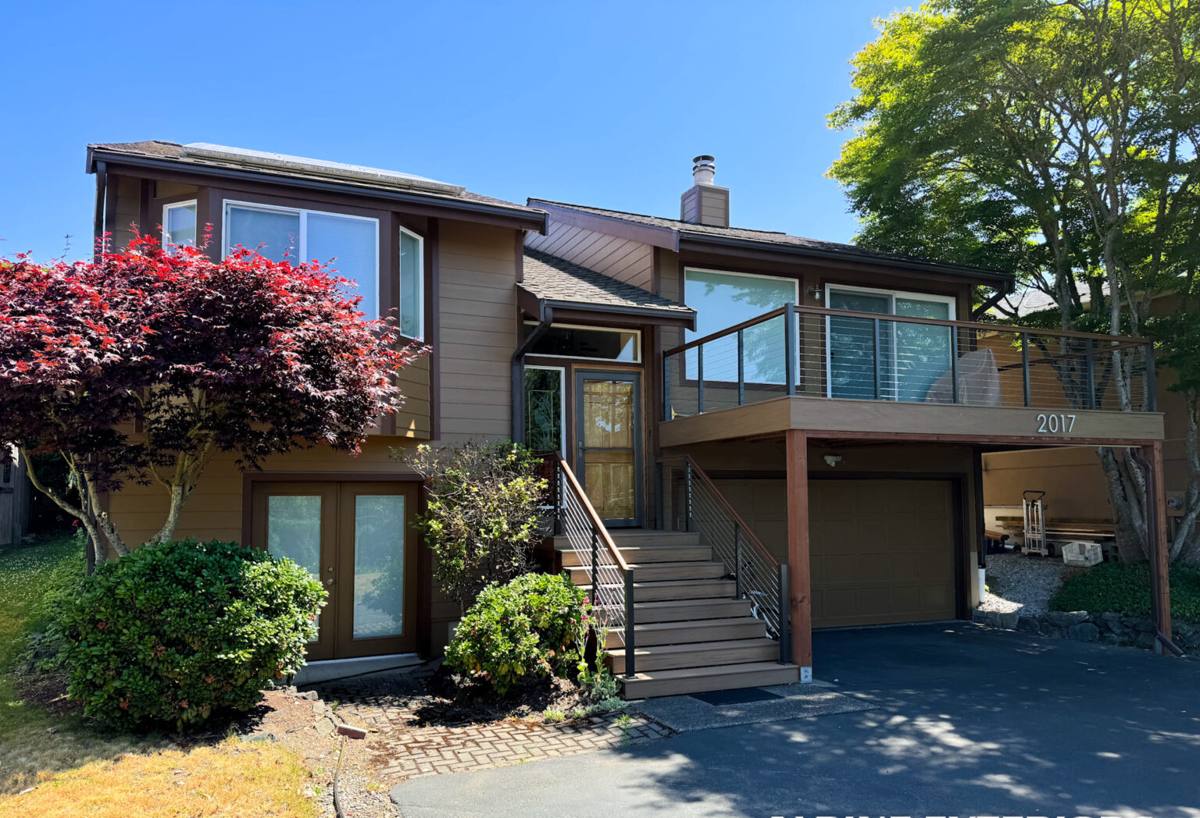
Signs a University District Roof Needs Full Replacement
Not every roof problem calls for a full tear-off. Here's how we tell the difference on King County homes:
- Granule loss and bald patches across multiple slopes, not just one storm-exposed section — usually means the shingle mat itself is failing, not a localized issue.
- Soft or spongy decking underfoot or visible sagging between rafters — a sign moisture has been getting into the sheathing, often for years, in a climate that never fully dries it out.
- Moss growth in the shingle mat itself (not just on the surface) — once roots work under the granules, patch repairs won't hold.
- Repeated leaks at valleys, chimneys, or skylights despite past patching — usually a sign the underlying flashing system, not just the surface material, has reached the end of its service life.
- Roof age over 20-25 years on standard composition shingle, especially if the original installation predates modern ice-and-water shield and ventilation standards.
If your roof shows one or two of these in isolation, a repair may buy you real time. If several show up together, replacement is usually the more honest recommendation — patching a roof that's structurally tired just delays a bigger bill.
What a Correct Installation Actually Involves
Tear-Off and Deck Inspection
We remove the existing roofing down to the deck rather than layering over old material. This is the only point where we can actually see the sheathing, check for soft spots or rot, and confirm the rafters and decking are sound before anything new goes down. Any damaged decking gets replaced before underlayment goes on — covering rot with new shingles just hides the problem for the next owner to find.
Moisture Barrier and Underlayment
Given how much of the year Seattle spends under rain, we treat underlayment as a primary defense, not an afterthought. That means self-adhered ice-and-water membrane at eaves, valleys, and roof penetrations — the spots where wind-driven rain most often finds a way in — and synthetic underlayment across the rest of the field for tear resistance and better water shedding than older felt products.
Ventilation
Balanced intake and exhaust ventilation keeps the attic space close to outdoor temperature and humidity, which slows moss growth on the underside of the deck and prevents condensation-driven rot. A lot of older University District homes were built before ridge and soffit venting were standard practice, so bringing ventilation up to a workable balance is often the single most valuable upgrade in a re-roof.
Flashing
Chimneys, skylights, dormers, and valleys fail more often from bad flashing than from bad shingles. We install new step flashing, counter-flashing, and valley metal as part of every replacement rather than reusing old pieces — flashing is inexpensive relative to the rest of the job, and it's the part most likely to cause a callback if it's skipped.
Material Options for University District Homes
| Material | Typical Lifespan | How It Handles Seattle's Climate | Best Fit |
|---|---|---|---|
| Architectural asphalt composition shingle | 25-30 years | Good moisture resistance with proper underlayment; moss-resistant (algae-resistant granule) options reduce staining and buildup | Most single-family homes, best cost-to-performance balance |
| Standing seam metal | 40-50+ years | Sheds moss and rain very effectively due to smooth, steep-shedding surface; minimal maintenance | Homeowners planning to stay long-term or wanting lower upkeep |
| Cedar shake | 20-30 years with upkeep | Traditional look but needs regular maintenance to resist moss and rot in our wet climate; higher long-term care burden | Homes prioritizing a specific historic or architectural look, with owners willing to maintain it |
| TPO / low-slope membrane | 15-20+ years | Correct choice for flat or near-flat roof sections common on additions and some multi-family buildings in the district | Additions, garages, and flat-roof portions rather than full sloped roofs |
We don't push cedar shake as a default in this neighborhood — it's a legitimate material, but it demands more regular cleaning and maintenance to resist moss and moisture damage than most owners realize going in. If you want that look, we'll install it correctly and tell you honestly what the upkeep looks like; we just won't recommend it as the low-maintenance option, because it isn't one here.
Our Process, Start to Finish
- On-site inspection. We walk the roof (or use a drone where pitch or access makes that safer) and check the attic from inside, looking at decking condition, ventilation, and current flashing.
- Written estimate. You get a clear scope — material, underlayment system, ventilation plan, and flashing work — with pricing broken out so you know what you're paying for.
- Permitting. Roof replacements in Seattle typically require a permit through the city; we handle that filing so you don't have to navigate it yourself.
- Tear-off and disposal. Old material comes off and is hauled away the same day where possible, weather permitting.
- Deck repair as needed. Any soft or damaged sheathing found during tear-off is replaced before we move forward — we'll show you what we found before proceeding.
- Underlayment, flashing, and roofing installation. Installed to manufacturer specification, with attention to the valleys, eaves, and penetrations that matter most in wind-driven rain.
- Final walkthrough. We review the completed roof with you, including ventilation and any warranty paperwork.
What Drives the Cost of a Replacement
| Factor | Why It Matters |
|---|---|
| Roof size and number of planes | More squares and more valleys/hips mean more material and more labor-intensive flashing work |
| Roof pitch and access | Steep roofs or those with limited access (tight lots, mature trees) take longer and require more safety setup |
| Deck condition | Rotted sheathing found during tear-off adds material and labor that can't always be predicted before opening the roof up |
| Material choice | Composition shingle, metal, and cedar carry different material and labor costs, as shown above |
| Ventilation upgrades | Adding ridge/soffit venting where none existed is additional scope, but pays off in roof lifespan |
| Layers of existing roofing | Multiple old layers mean more tear-off labor and disposal cost |
We won't quote a number without seeing the roof — anyone who does is guessing. What we can say is that the estimate you receive should break out these factors clearly enough that you understand what's driving the price, not just a single lump figure.
Why a Crew That Already Works This Neighborhood Matters
University District's older housing stock, tight lots, tree cover, and mix of building eras mean a crew unfamiliar with the area is often seeing these conditions for the first time on your roof. A crew that regularly works Seattle and King County homes has already dealt with the ventilation shortcuts common to homes of a certain vintage, knows what moss pressure looks like on a north-facing slope shaded by mature trees, and understands what the City of Seattle's permitting and inspection process expects. That familiarity shows up in fewer surprises mid-project and a roof detailed for how this specific climate actually behaves, not a generic install.
Keeping a New Roof Performing After Installation
A correctly installed roof still needs basic upkeep in this climate. A simple maintenance routine goes a long way:
- Have gutters cleared at least twice a year — clogged gutters back water up under the roof edge, especially during fall leaf drop and heavy winter rain.
- Keep overhanging branches trimmed back from the roof surface to reduce shade, debris, and moss pressure on north- and east-facing slopes.
- Schedule a moss treatment or gentle roof cleaning on the interval your roofer recommends for your specific material — more frequent for shaded roofs, less for sun-exposed ones.
- Walk the attic once a year (or have it checked) for signs of moisture, daylight through the roof deck, or musty odor.
- Address minor flashing or sealant issues promptly — small leaks are inexpensive to fix and expensive to ignore.
None of this replaces a properly installed roof, but it's the difference between a roof that hits its full expected lifespan and one that needs early attention because moisture and moss were left unchecked.
If your University District roof is showing its age or you just want an honest read on where it stands, we're happy to take a look. The estimate is free, there's no pressure to move forward, and you'll get a clear explanation of what we find — use the form below to get started.