 Seattle
 New-Construction Windows on Capitol Hill: What "Doing It Right" Actually Means
New-construction window installation is a different job than swapping out an old window in an existing wall. On a new build, addition, or gut-to-the-studs remodel, the windows go in before the siding, before the final weather-resistive barrier layers are closed up, and before anyone can see whether the flashing sequence was done correctly. Once the siding crew shows up and covers the wall, mistakes made at the window stage are hidden for years — until they show up as a stain on drywall, a soft spot in sheathing, or a musty smell in a closet. On Capitol Hill, where a lot of construction is infill housing, additions, ADUs, and multi-unit backyard cottages squeezed onto narrow lots, that window stage is often rushed because everyone on the job site is trying to keep the schedule moving. We slow down for it, because it's the one part of the build you don't get to redo cheaply.
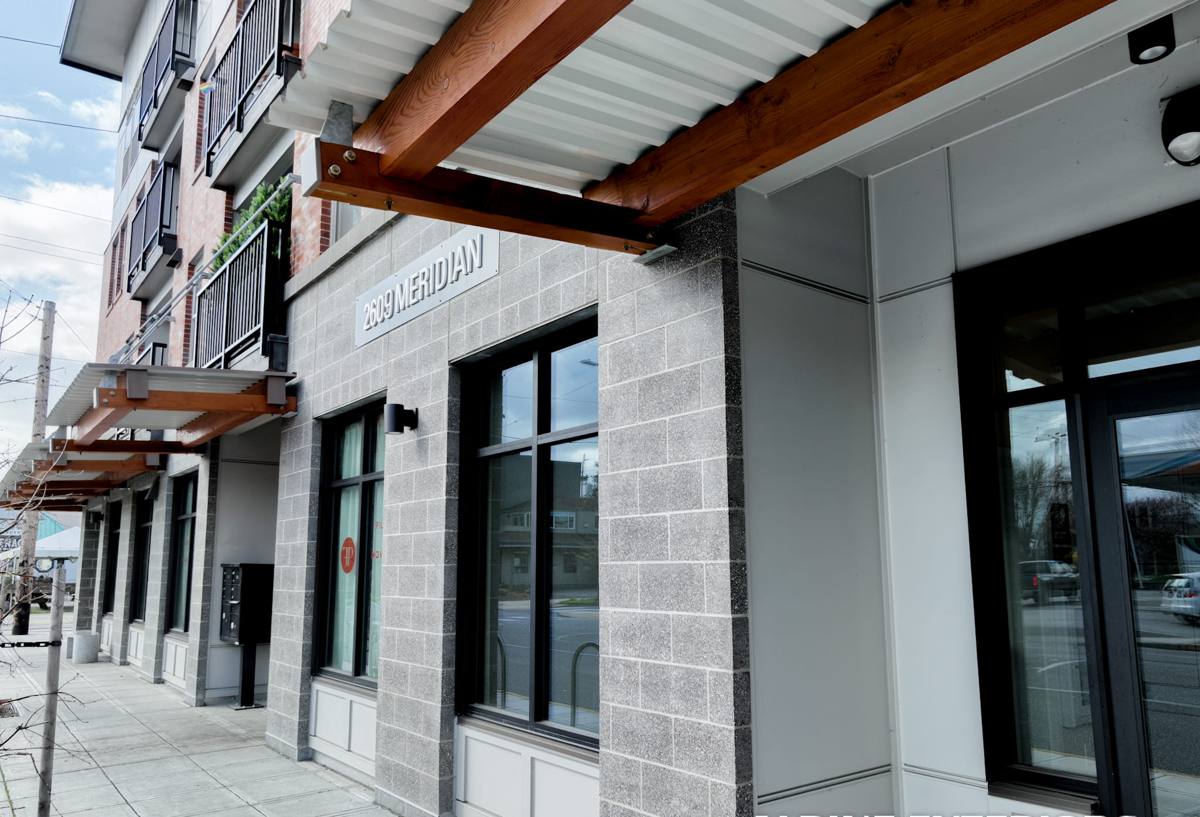
Why Capitol Hill's Conditions Change the Approach
Capitol Hill sits on high, exposed ground in a city that gets sustained wind-driven rain for months at a stretch, and it's close enough to Puget Sound and the Sound-influenced marine air that salt and moisture both play a role in how building materials age. Add in Seattle's long moss season — the stretch from fall through spring where anything shaded, north-facing, or slow to dry stays damp — and you get a climate that punishes any gap in the weatherproofing detail around a window opening. A window that's watertight on a dry install day can still leak for years if the flashing wasn't lapped correctly with the WRB, or if the sill pan wasn't sloped to shed water outward instead of into the wall cavity.
This isn't unique to Capitol Hill, but the neighborhood's building mix makes it more visible. Many lots pair an existing older home with new infill construction right next to it, and multi-story new builds create tall, wind-exposed wall planes where rain doesn't just fall — it gets driven sideways into the window opening under wind pressure. Getting the window installation right the first time matters more here than it does on a sheltered single-story build in a calmer part of King County.
What We See Go Wrong on Rushed Installs
- Sill pans skipped or installed flat instead of sloped, so any water that gets past the window sits against the sheathing
- Flashing tape lapped in the wrong order (should always shed water like shingles, top layer over the one below)
- Nail fins face-nailed through sealant instead of properly integrated with the building wrap
- Rough openings cut oversized "for easier install," leaving gaps that get filled with expanding foam instead of proper shimming and flashing
- Window units set before the WRB is fully lapped and taped, forcing awkward field patches later
New-Construction vs. Replacement Windows: Why the Distinction Matters
New-construction windows have a nailing flange (fin) built into the frame that gets fastened directly to the sheathing and integrated with the weather-resistive barrier and flashing before siding goes on. Replacement windows are typically "block frame" units designed to slide into an existing opening without disturbing the exterior finish. Using the wrong type for the situation — or installing a new-construction window without doing the full flashing sequence because "it's just easier" — is one of the most common corner-cutting moves we see on fast-moving jobs. It might pass a rough visual inspection, but it skips the layered water-management system that new-construction windows are actually designed around.
Our Installation Process
On new construction and additions, we work in sequence with the framing and siding trades rather than around them. The order matters as much as the individual steps:
- Rough opening check. We verify the opening is square, plumb, and sized correctly before the window ever shows up on site — oversized or out-of-square openings cause most of the downstream problems.
- Sill pan flashing. A sloped, sealed pan under the window directs any water that does get past the glazing back out to the exterior instead of into the wall.
- WRB integration. The weather-resistive barrier is cut and lapped so water sheds over each layer — jamb flashing over the pan, head flashing over the jambs, and the WRB itself lapped over the head flashing.
- Window set and shim. The unit is set plumb, level, and square, shimmed at proper load points (not just at the corners), and fastened per the manufacturer's schedule — not just wherever's convenient.
- Flange and tape seal. The nailing flange is taped and sealed to the WRB on all four sides, with the same shingle-lap logic carried through.
- Interior air seal. A separate air-sealing step at the interior side of the rough opening, distinct from the exterior water seal — conflating the two is a common shortcut that causes condensation problems later.
- Final check before siding closes it up. We inspect and photograph the flashing before the siding crew covers it, because that's the last point anyone will ever see this detail again.
Choosing Window Materials for a Capitol Hill Build
Material choice matters less than installation quality, but it's still worth getting right for the exposure your specific wall will see — south and west elevations catch more driving rain, north-facing walls stay damp longer and are more prone to moss and mildew staining.
| Frame Material | Moisture Behavior | Maintenance | Typical Fit |
|---|---|---|---|
| Vinyl | Won't rot; can expand/contract with temperature swings | Low — occasional cleaning | Budget-conscious new construction, additions, rentals |
| Fiberglass | Very stable, holds paint well, low expansion | Low-moderate | Higher-exposure walls, longer hold periods before repaint |
| Wood-clad | Interior wood look with exterior-protected cladding | Moderate — cladding needs occasional inspection at seams | Character-driven builds matching an existing home's look |
| Aluminum | Durable but conducts heat/cold; needs thermal break for our climate | Low | Modern infill designs, larger glass expanses |
We'll talk through trade-offs honestly rather than push whatever's easiest for us to install — the right call depends on your elevation exposure, your budget, and how the window sits relative to roof overhangs and other rain protection already built into the design.
Coordinating With Other Trades
New-construction window work doesn't happen in isolation. Timing with the framer, the siding crew, and sometimes the roofer determines whether the flashing sequence can actually be done correctly. We coordinate directly with your general contractor or builder on Capitol Hill jobs so windows go in at the right point in the schedule — not so early that the WRB isn't ready, and not so late that it holds up siding. On additions and ADUs where the new wall ties into an existing structure, we also pay close attention to how the new WRB laps against the old wall's existing water management, since that transition point is a common leak source if it's not planned for.
Permits, Code, and Egress
Seattle's energy code sets minimum performance requirements for new-construction glazing (U-factor and solar heat gain), and bedrooms need windows that meet egress size and sill-height requirements for emergency exit. On Capitol Hill's mix of additions, basement conversions, and ADUs, egress compliance comes up constantly — a window that looks fine on paper can fail if the opening size or sill height doesn't meet the current code for a sleeping room. We check this before ordering, not after the unit shows up and doesn't fit the requirement.
Quick Pre-Install Checklist for a Capitol Hill New-Construction Job
- Rough openings verified square, level, and correctly sized before windows are ordered
- Window type (new-construction flange vs. block frame) confirmed for the wall assembly
- Egress requirements confirmed for any bedroom or basement openings
- Sill pan flashing planned and sloped correctly for each opening
- WRB lap sequence coordinated with the framing and siding schedule
- Elevation exposure (south/west vs. north-facing) factored into material choice
- Flashing inspected and documented before siding covers the wall
Why Local Experience on Capitol Hill Matters
A crew that's worked other jobs in this part of Seattle already understands the density, the narrow-lot access challenges, the mix of old and new construction side by side, and the exposure patterns that come with tall infill builds in a wind-driven-rain climate. That's not something you can fully substitute with a generic install checklist — it comes from having flashed openings on enough King County jobs to know which shortcuts cause callbacks two winters later. We'd rather spend the extra time getting the water management right at rough-in than come back to chase a leak after the drywall's painted.
If you're planning new construction, an addition, or an ADU on Capitol Hill and want windows installed the right way the first time, we're happy to walk the plans with you and give a straightforward, no-pressure estimate — just fill out the form below.