 Seattle
 Siding Replacement Built for University District Homes
The University District sits close to the water, under heavy tree canopy, and carries one of the oldest, densest housing stocks in Seattle — a mix of early-1900s craftsman houses, converted duplexes, and rental properties that turn over tenants every year but rarely get the exterior attention an owner-occupied home would. That combination is hard on siding. Between the driving rain off Puget Sound, the moss and algae that thrive under shade trees, and years of deferred maintenance on rental stock, a lot of U-District homes are wearing siding that's well past the point of patching.
This page covers what siding replacement actually looks like for this neighborhood specifically — what the climate does to different siding materials, what a correct installation involves, and how our process works from first look to final walkthrough.
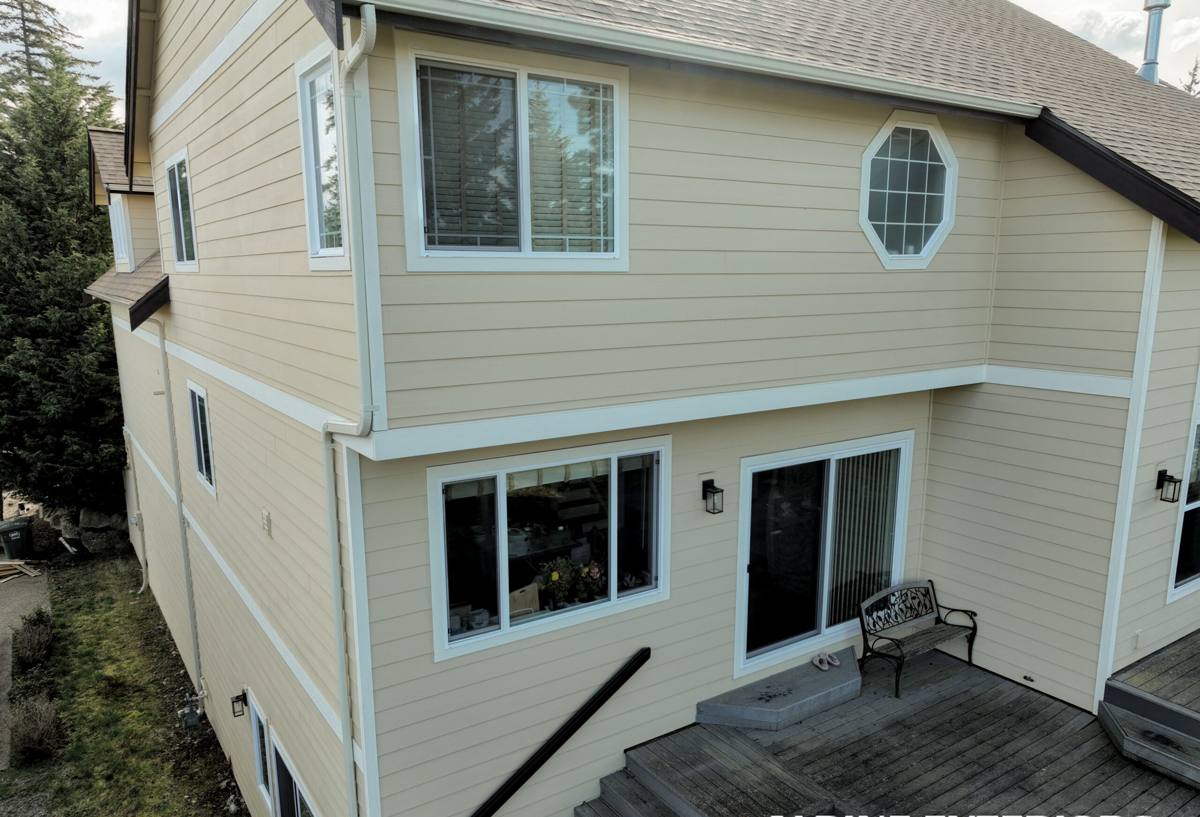
What Seattle's Climate Does to Siding Here
King County's marine climate isn't just "a lot of rain." It's rain that comes in sideways during winter storms, humidity that never fully clears even on dry days, and long stretches of low sun angle that keep north- and east-facing walls damp for days after a storm passes. Add mature street trees and yard trees common throughout the U-District, and you get siding that stays shaded and wet longer than siding on an open lot.
The Big Three Problems
- Moss and algae growth — shaded, north-facing walls and anything under tree cover develop moss and black streaking within a few years if the siding material and paint film can't shed moisture and resist organic growth.
- Moisture intrusion — driving rain finds gaps at butt joints, corner boards, and window trim. Once water gets behind the siding, it doesn't dry out quickly in this climate — it sits, and that's when sheathing and framing rot start.
- Coastal air exposure — homes closer to Lake Union, Portage Bay, and the broader Puget Sound airshed deal with salt-laden, moisture-heavy air that accelerates corrosion on fasteners and degrades poorly-protected wood and composite products faster than the same materials would age inland.
None of this is unique to the U-District, but the neighborhood's combination of tree cover, older original siding, and a large percentage of rental housing means problems tend to go unaddressed longer — which makes the eventual repair bigger.
Signs a U-District Home Needs Siding Replacement, Not Repair
Not every siding problem means a full tear-off. But there's a point where patching stops being cost-effective and starts being a way to lose money slowly. Watch for:
- Soft or spongy siding when you press on it near the bottom edges, corners, or below windows
- Paint that won't hold — recoating every 2-3 years instead of every 7-10
- Visible moss or algae that returns within months of cleaning
- Gaps, warping, or cupping boards, especially on older cedar or engineered wood siding
- Interior signs — musty smell, peeling paint, or staining on walls that share an exterior wall
- Siding that's original to a pre-1960s U-District house and has never been fully replaced, only patched
If you're seeing two or more of these, a proper inspection is worth doing before you spend more money re-treating siding that's already failing underneath.
Why We Install Only James Hardie Fiber Cement
We don't install vinyl, LP SmartSide, primed spruce, cedar, or other fiber cement brands. That's a deliberate standard, not a sales pitch, and it matters most in a climate like this one:
- Non-combustible — fiber cement doesn't feed a fire the way wood-based products can, which matters for insurance and for peace of mind on a densely built block.
- Moisture-stable — Hardie's fiber cement doesn't swell, rot, or delaminate the way wood and some engineered wood siding can when it stays wet for extended periods, which is exactly the condition shaded U-District walls face for months at a time.
- Factory-applied ColorPlus finish — baked-on color that resists fading and holds up to moss and mildew far better than field-applied paint, which is the finish that fails first on older siding here.
- HZ5 engineering — Hardie's climate-specific product line is built for exactly this kind of wet, marine-influenced environment.
- Strong transferable warranty — valuable for rental property owners and anyone who may sell within a decade, which describes a large share of U-District real estate.
Vinyl and LP SmartSide both have real strengths — vinyl is inexpensive and low-maintenance in the right climate, and SmartSide's engineered wood is easier to install on tight schedules. But vinyl can warp and doesn't hold up to impact or extreme temperature swings the way fiber cement does, and engineered wood products are more sensitive to sustained moisture exposure at cut edges and joints — exactly the failure point we see most often on older Seattle homes with poor flashing detail. We'd rather install one product correctly than offer several and hope the installation covers for the material's weak points.
What a Correct Installation Actually Involves
Siding replacement done right is mostly about what's underneath and around the boards, not the boards themselves. Skipping these steps is the single biggest reason siding fails early in this climate.
Tear-Off and Sheathing Check
Full removal of the old siding lets us actually see the sheathing. Any rot, soft spots, or water staining gets addressed before anything new goes up — covering over damaged sheathing is how small problems become structural ones.
Weather-Resistive Barrier
A properly lapped, sealed weather barrier goes over the sheathing before siding installation starts. This is the layer that actually stops driving rain from reaching your framing if any water gets past the siding itself.
Flashing at Every Penetration
Windows, doors, hose bibs, vents, and light fixtures all need proper flashing and sealant details. This is the step most commonly rushed on lower-quality jobs, and it's the first place leaks show up.
Correct Fastening and Clearances
Hardie siding has specific nailing patterns, fastener types, and ground-clearance requirements. Getting these wrong voids warranty coverage and undermines the product's real-world performance — a Hardie board installed incorrectly will still develop the same problems as a cheaper product.
Our Process for a University District Project
| Step | What Happens |
|---|---|
| Assessment | On-site inspection of existing siding, sheathing condition, and problem areas specific to your home's exposure and tree cover |
| Scope and estimate | Written proposal covering material, trim, flashing detail, and timeline — no vague allowances |
| Prep and protection | Landscaping, walkways, and neighboring structures protected before tear-off begins |
| Tear-off and sheathing repair | Old siding removed, sheathing inspected and repaired as needed |
| Weather barrier and flashing | New moisture barrier installed with correct flashing at every penetration |
| Hardie installation | Siding installed to manufacturer spec for fastening, clearance, and joint treatment |
| Final walkthrough | Site cleanup and a walkthrough so you know what was done and why |
Cost Factors for U-District Siding Replacement
Every home is different, but the same factors drive cost across most U-District projects:
| Factor | Why It Matters |
|---|---|
| Home age and construction | Older homes more often need sheathing repair or additional structural work once old siding comes off |
| Access and lot conditions | Narrow lots, shared driveways, and mature trees common in this neighborhood can affect staging and labor time |
| Trim and architectural detail | Craftsman-era trim, window casing, and corner detail take more time to match than a plain elevation |
| Siding profile and color | Lap width, shake-style panels, and factory color selection affect material cost |
| Rental vs. owner-occupied logistics | Tenant coordination and occupied-unit scheduling can affect project timeline on rental properties |
Why Hiring Locally Familiar Crews Matters Here
A crew that already works in the University District understands things a general contractor from outside the area has to learn on your dime: how shaded, tree-heavy lots affect drying time between weather windows; how older Seattle framing and sheathing tend to be built; and how to work around the tight lot lines and shared property lines common to this part of the city. That familiarity shows up in fewer surprises mid-project and a more accurate estimate up front.
It also matters for property owners managing rental units in the neighborhood — a crew that understands tenant coordination, permitting through the City of Seattle, and realistic timelines around lease turnover makes the process considerably less disruptive.
Maintaining New Siding in This Climate
Even with Hardie's factory finish, a few habits keep siding performing well for decades in a wet, shaded climate like this one:
- Rinse siding annually, especially shaded or north-facing walls, to keep moss and algae from establishing
- Trim back tree branches and shrubs that keep siding in constant shade or contact
- Check caulking around windows, doors, and trim every couple of years and recaulk as needed
- Keep gutters clear so overflow doesn't run directly down exterior walls
- Address any soft spots or staining immediately rather than waiting for the next scheduled inspection
If your University District home's siding is showing moss, soft spots, or paint that won't hold anymore, we're happy to take a look and give you a straight answer about repair versus replacement. Fill out the form below for a free, no-pressure estimate.