 Seattle
 Bellevue's Climate Is Harder on Siding Than It Looks
Bellevue doesn't get the reputation that more exposed parts of the Puget Sound region get, but the climate here is still demanding on exterior building materials. Homes near Lake Washington deal with persistent moisture off the water, driving rain moves through in bands for months at a time, and the heavily wooded lots common throughout Bellevue keep siding shaded and damp long after a storm has passed. That combination — moisture, shade, and limited drying time — is exactly the environment where moss, mildew, and slow water intrusion take hold in siding that isn't installed correctly or wasn't built for the job in the first place.
A lot of siding failure in King County isn't dramatic. It's not storm damage or a single bad event. It's years of a house sitting in that gray zone between "damp" and "dry," with water finding small gaps around trim, penetrations, and butt joints, and moss holding moisture against the wall longer than it should. If you're planning a siding installation in Bellevue, the product and the install method both need to account for that reality, not just look good on installation day.
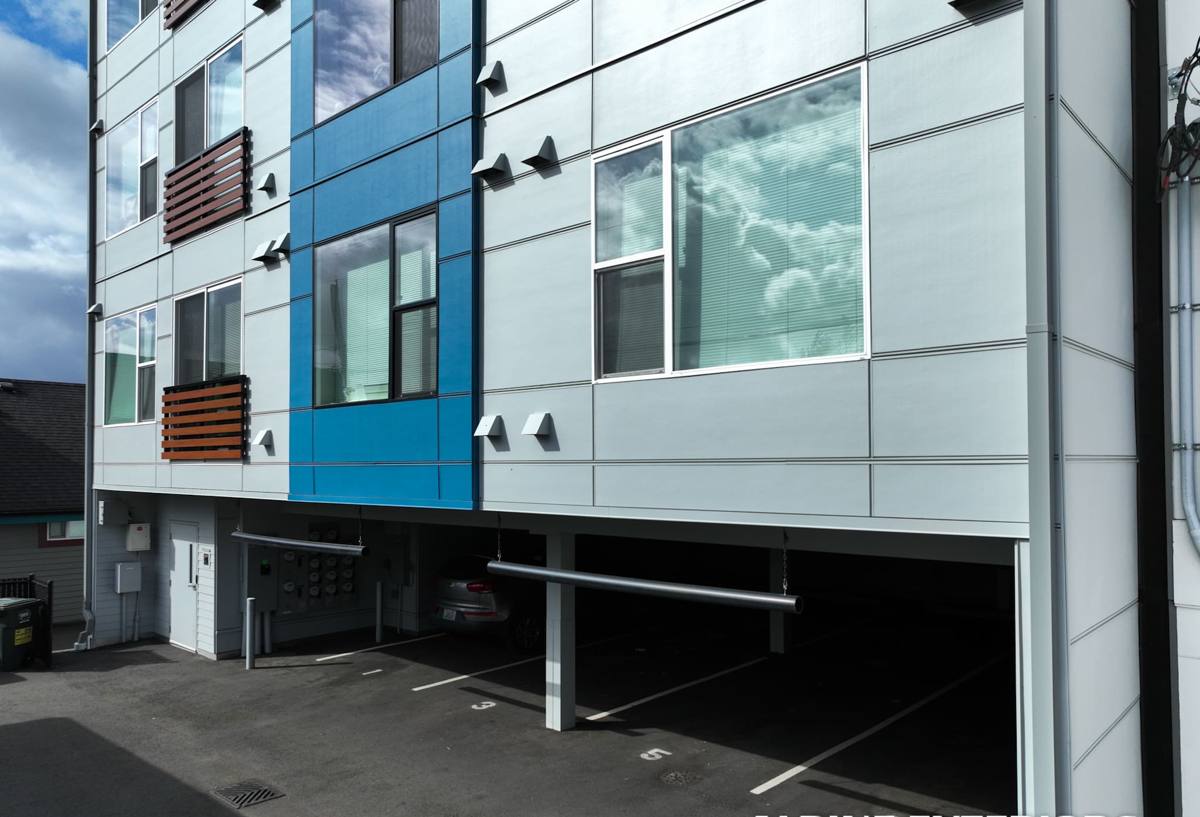
What a Correct Siding Installation Actually Involves
Siding is a system, not a single layer. The visible panels get all the attention, but the parts underneath — the ones nobody sees again after the job is done — are what determine whether the wall stays dry for the next 30 years or starts showing problems in five.
The Water-Resistive Barrier and Drainage Plane
Every wall needs a continuous water-resistive barrier (WRB) behind the siding, lapped correctly so water sheds down and out rather than working its way behind the seams. On a lot of older Eastside homes we open up, this layer is either missing, torn, or was installed with the laps running the wrong direction. In a climate with as much sustained rain as this one, that's not a minor detail — it's the difference between water managed and water trapped.
Rainscreen Gap
A small air gap between the WRB and the back of the siding lets bulk water drain and lets the wall assembly dry out between rain events. Given how much of the year Bellevue spends under cloud cover with limited direct sun on shaded, tree-lined lots, that drying capacity matters more here than it would in a drier climate. Skipping the rainscreen to save time or material is one of the more common shortcuts we see on homes that come to us with moisture problems.
Flashing and Penetrations
Windows, doors, hose bibs, vents, light fixtures — every penetration through the siding is a potential entry point for water if it isn't flashed correctly. Proper head flashing, kick-out flashing at roof-to-wall intersections, and correctly lapped window flanges are what keep a decades-long installation dry, and they're also the details that get rushed on a job priced too low to do them right.
Fastening and Joint Treatment
Fiber cement has a specific fastening schedule — nail type, spacing, and placement all affect how the panel performs over time and whether it stays warrantied. Butt joints need to be treated correctly, not just butted and caulked, or they become the first place moss and water intrusion show up.
Why We Install James Hardie Fiber Cement and Nothing Else
We made a decision years ago to install James Hardie fiber cement siding exclusively. We don't install vinyl, LP SmartSide, cedar, primed spruce, or other fiber cement brands. That's a real limitation on the jobs we'll take, and we're upfront about it because Bellevue's climate is exactly the kind of environment where the difference between products shows up over time, not on day one.
James Hardie's HZ product lines are climate-engineered for regions like ours — built to hold up under sustained moisture exposure without the swelling, warping, or moisture-driven rot that can affect wood-based and engineered wood siding products in a wet climate. Hardie fiber cement is also non-combustible, which matters increasingly across Washington as wildfire smoke and ember exposure become a bigger part of regional risk conversations. The ColorPlus factory finish is baked on under controlled conditions rather than field-applied, which gives it more consistent color retention and weather resistance than site-painted siding, and it comes with a strong transferable warranty when installed to Hardie's specifications.
None of that means other products are junk. Vinyl is inexpensive and low-maintenance in the right application. Cedar has a look a lot of homeowners genuinely want. Engineered wood siding has come a long way. But each of those products has trade-offs — moisture sensitivity, expansion and contraction behavior, maintenance demands, or long-term durability questions — that we're not comfortable signing our name to on a house that's going to sit in Eastside rain and shade for the next several decades. Fiber cement, installed correctly, is the product we're willing to warranty our workmanship against.
Our Installation Process
- Site assessment. We look at sun exposure, tree cover, drainage patterns around the foundation, and any existing moisture damage before we ever talk about panel color.
- Tear-off and sheathing inspection. Old siding comes off and we inspect the sheathing underneath for rot, soft spots, or existing water damage. This is the point where problems that have been hidden for years finally get found — and fixed — instead of covered back up.
- WRB and flashing installation. A new water-resistive barrier goes on, correctly lapped, with flashing detailed at every window, door, and penetration.
- Rainscreen and furring. Depending on the wall assembly, furring strips create the drainage gap that lets the wall breathe and dry.
- Hardie panel installation. Panels go up to Hardie's fastening specification, with joints, corners, and trim treated the way the manufacturer requires to keep the warranty intact.
- Final detailing and walkthrough. Caulking, touch-up, and a walkthrough so you understand what was done and why.
What Shortcuts Look Like — And Why They Matter Later
Most siding problems we get called out to inspect in the Bellevue area didn't come from a bad product — they came from a rushed or incomplete installation. Recognizing the difference helps you evaluate any quote you're comparing against ours.
| Done Right | Common Shortcut | Why It Matters in This Climate |
|---|---|---|
| Continuous, correctly lapped WRB | Reused or patched house wrap | Gaps let sustained rain track behind the siding over time |
| Rainscreen gap installed | Siding fastened directly to WRB | Wall can't dry between rain events on shaded, wooded lots |
| Flashed penetrations and roof-wall intersections | Caulk-only sealing | Caulk degrades faster than flashing and fails silently |
| Manufacturer fastening schedule followed | Fewer fasteners, wrong nail type | Affects wind performance and voids the product warranty |
| Sheathing repaired before re-siding | New siding over damaged sheathing | Traps existing rot and moisture behind new material |
Why Local Experience in Bellevue Specifically Matters
A crew that primarily works drier, more sheltered parts of the country doesn't have the same instincts around drainage planes, rainscreen detailing, and moss-prone shade patterns that this region demands. Working across King County and the Eastside regularly means we've seen how differently Bellevue homes age depending on tree cover, proximity to the lake, and sun exposure on a given lot — and we build the installation around that rather than treating every job the same way.
Local experience also means understanding Bellevue's permitting process and inspection expectations for exterior work, and knowing what HOA architectural review boards in the area typically want to see before approving a siding color or material change. That's not glamorous work, but it's the difference between a project that moves smoothly and one that stalls waiting on paperwork nobody anticipated.
What Affects the Cost of a Bellevue Siding Installation
We don't quote broad numbers without seeing the house, but the same factors move the price on almost every job in this area:
| Factor | Why It Affects Cost |
|---|---|
| Sheathing condition | Rot or water damage found during tear-off requires repair before new siding can go on |
| House size and complexity | More corners, gables, and trim detail mean more labor and material |
| Existing siding type | Some materials remove faster and cleaner than others |
| Panel and trim selection | Hardie's various lines and profiles carry different material costs |
| Access and site conditions | Steep lots, mature landscaping, and limited access add labor time |
The only way to get an accurate number is a walkthrough of the actual house — anyone quoting a firm price sight unseen is guessing.
Signs Your Bellevue Home May Need New Siding
- Moss or dark streaking building up on siding faces, especially on shaded sides of the house
- Visible warping, swelling, or soft spots when you press on the siding
- Paint that's peeling or blistering repeatedly in the same spots
- Cracked or missing caulk at joints, corners, and trim
- Rising energy bills that suggest the wall assembly isn't performing the way it should
- Visible gaps or separation at butt joints and panel seams
Maintenance After Installation
Correctly installed James Hardie siding is genuinely low-maintenance, but "low" doesn't mean "none." An annual look at caulking around trim and penetrations, keeping gutters clear so water isn't sheeting down the wall face, and trimming back vegetation that keeps a section of wall in constant shade will go a long way toward keeping moss and moisture issues from developing in the first place — particularly relevant on wooded Bellevue lots where tree cover limits natural drying.
If you're planning a siding project in Bellevue, we're happy to walk the house, look at what's actually going on with the existing siding and sheathing, and put together a straightforward estimate — no pressure, no hard sell, just a clear look at what the job actually needs.